Applications
Introduction to Applications
When you're in your Console and first sign in, go down to Applications on the left-hand side.
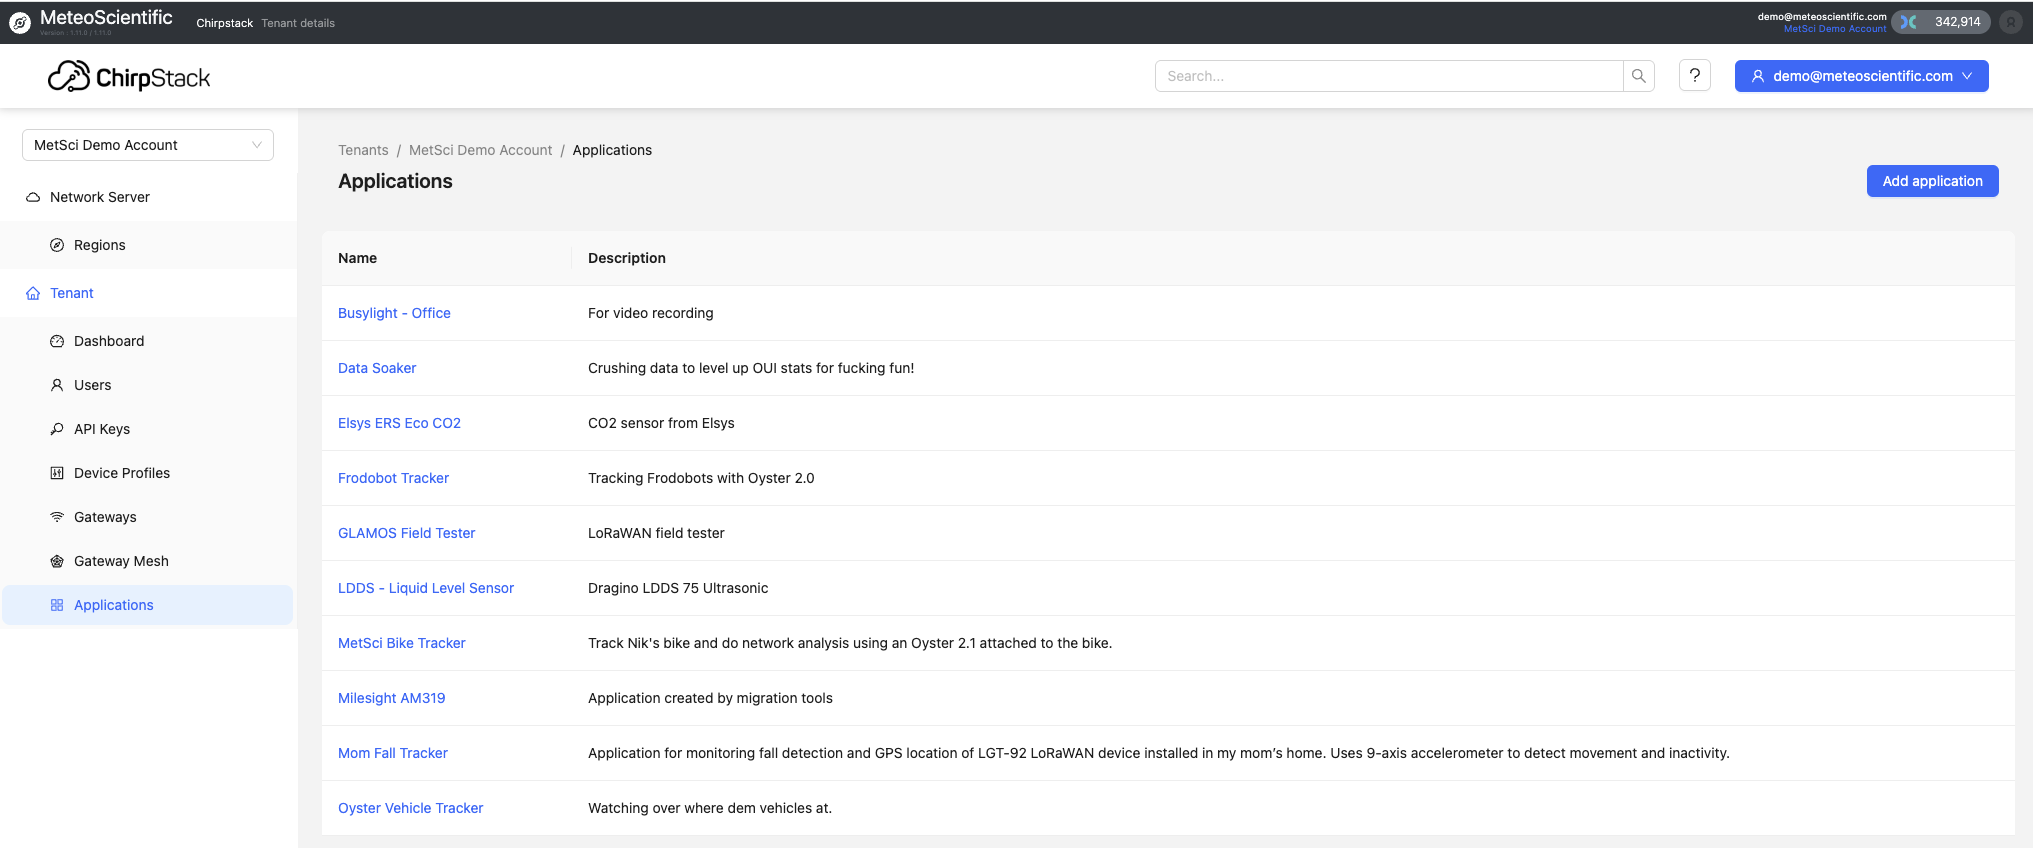
I've already set up a couple of applications, but before we jump into those, let's take a look at what an application actually is.
Want to Watch?
If learning by watching is easier for you, the video for this is here:
What is an Application?
It's really simple: An application is a way to organize a group of the same devices used for a specific purpose, and typically for a specific project. Remember how we used Device Profiles to set up multiple devices? Now we're going a step further and grouping those devices together, usually to do a specific job.
You might use different applications for different clients if you're a running a LoRaWAN business for monitoring soil moisture at different nurseries. You'd use the same device profile, but split them out in different Applications to keep it organized.
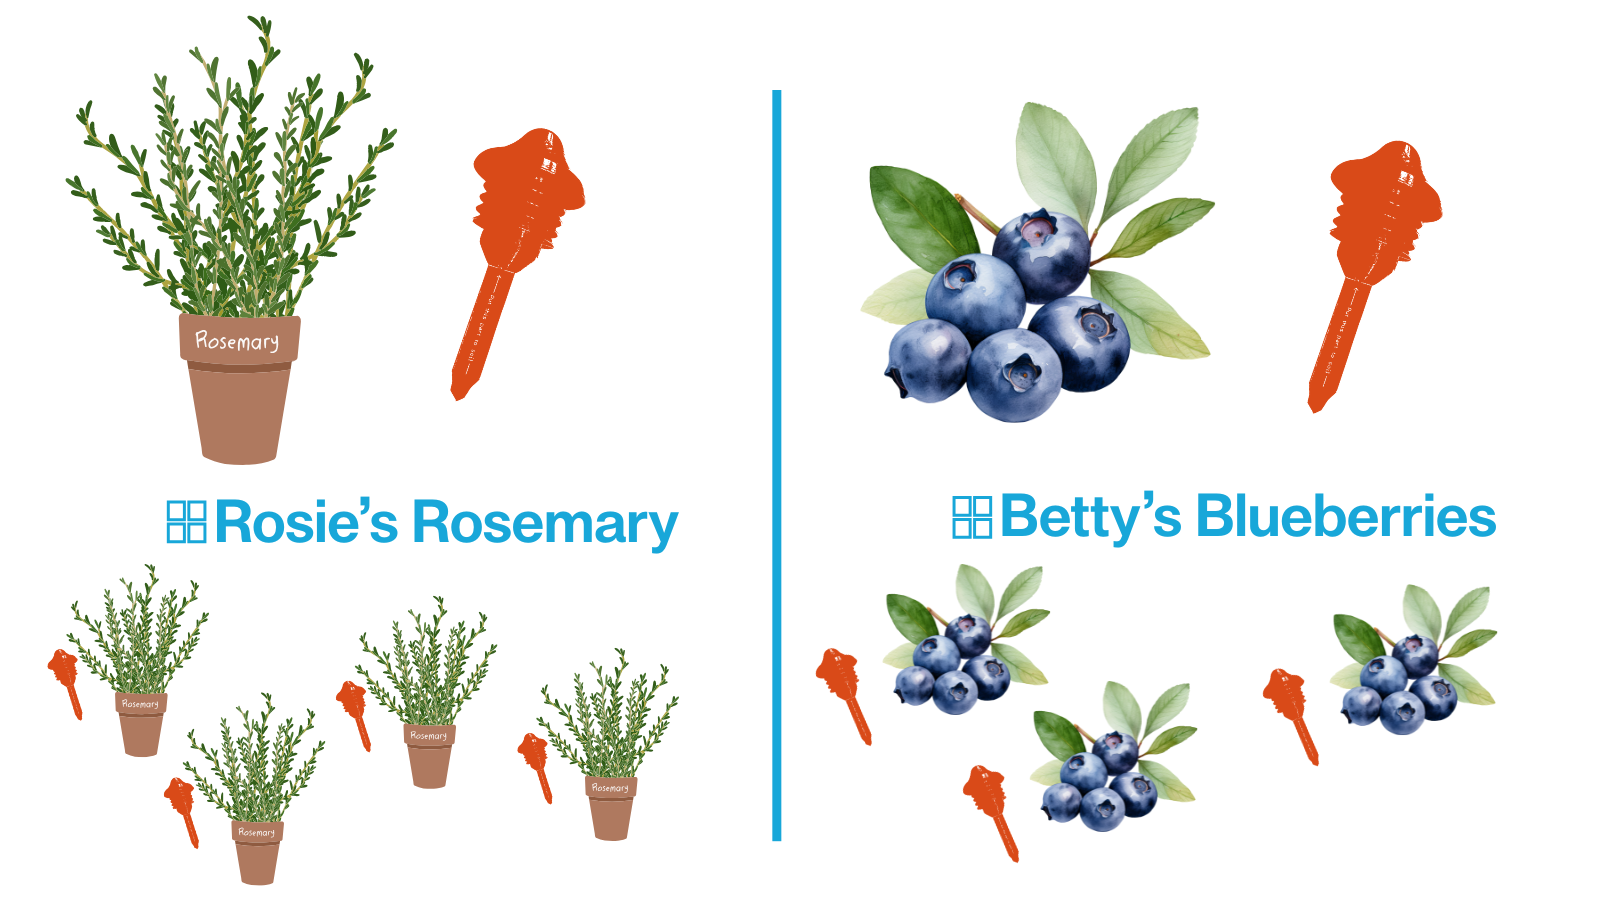
You might have you own projects where you want to use the same device type (like an Oyster tracker) for different things, like tracking a bike vs tracking a car vs tracking a sled.
Applications also allow us to set up an Integration, which is what allows us to connect our device data to the rest of the world. Before we get to the Integration section, let's talk about naming our Applications.
Naming Your Application
I started off with crazy organized naming conventions, like Client-Location-Device-Purpose. Over time, I've simplified to just naming the thing for what it does and/or where it is, or something that makes sense to me. I'll put in amplifying information in the Description to help me remember why I set this device up.
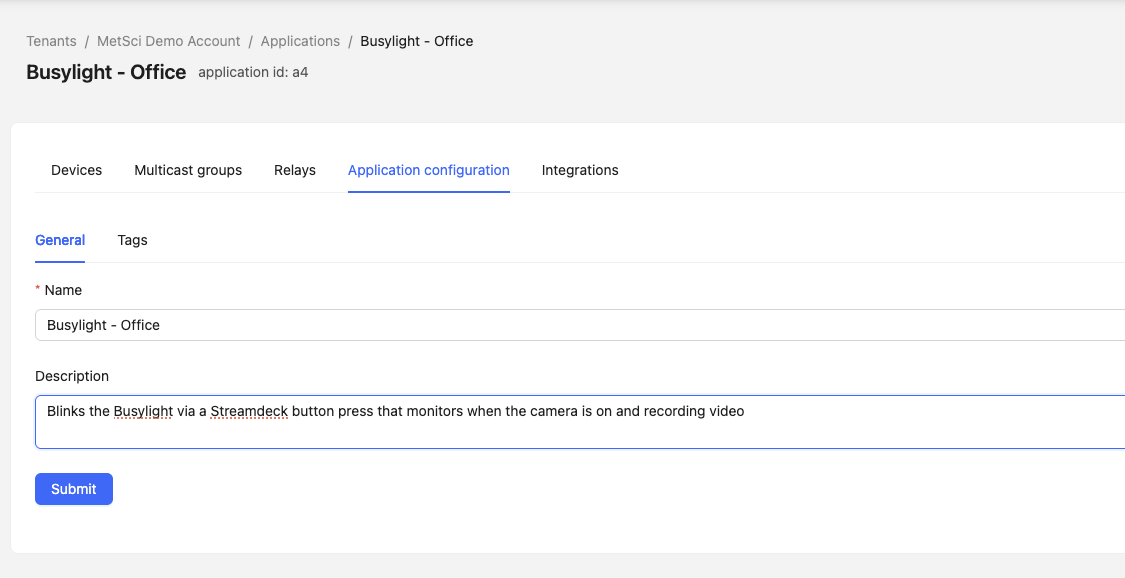
Creating a New Application
Let's go ahead and add a new application. Using the example I just gave, you might name it "Acme Occupancy Franklin Daily." You can also add a description, like:
This is the Acme account using parking sensors to measure occupancy at the Franklin garage.
Once you've filled in the details, hit Submit, and the new application will be created.
You can see it listed in the Applications section. If you need to make changes, just click on the application again, and go over to Application Configuration. For example, if you made a typo like "garag" instead of "garage," just correct it and hit the Submit button to save the changes.
Adding Devices
We'll add devices in the next tutorial.
Multicast Groups
The next tab you'll see is Multicast Groups. A multicast group is a way to send the same downlink to every device in an application. For instance, if you want to tell all the parking sensors to report every five minutes instead of every ten minutes, you would send a downlink using a multicast group. We'll cover Multicast in a separate tutorial.
Integrations
Finally, let's discuss Integrations. Integrations are the main reason you'll use Applications. An Integration is what lets you set up a connection from a device (or devices) on your Console to the the rest of world; it's how you "integrate" your devices into the real world.
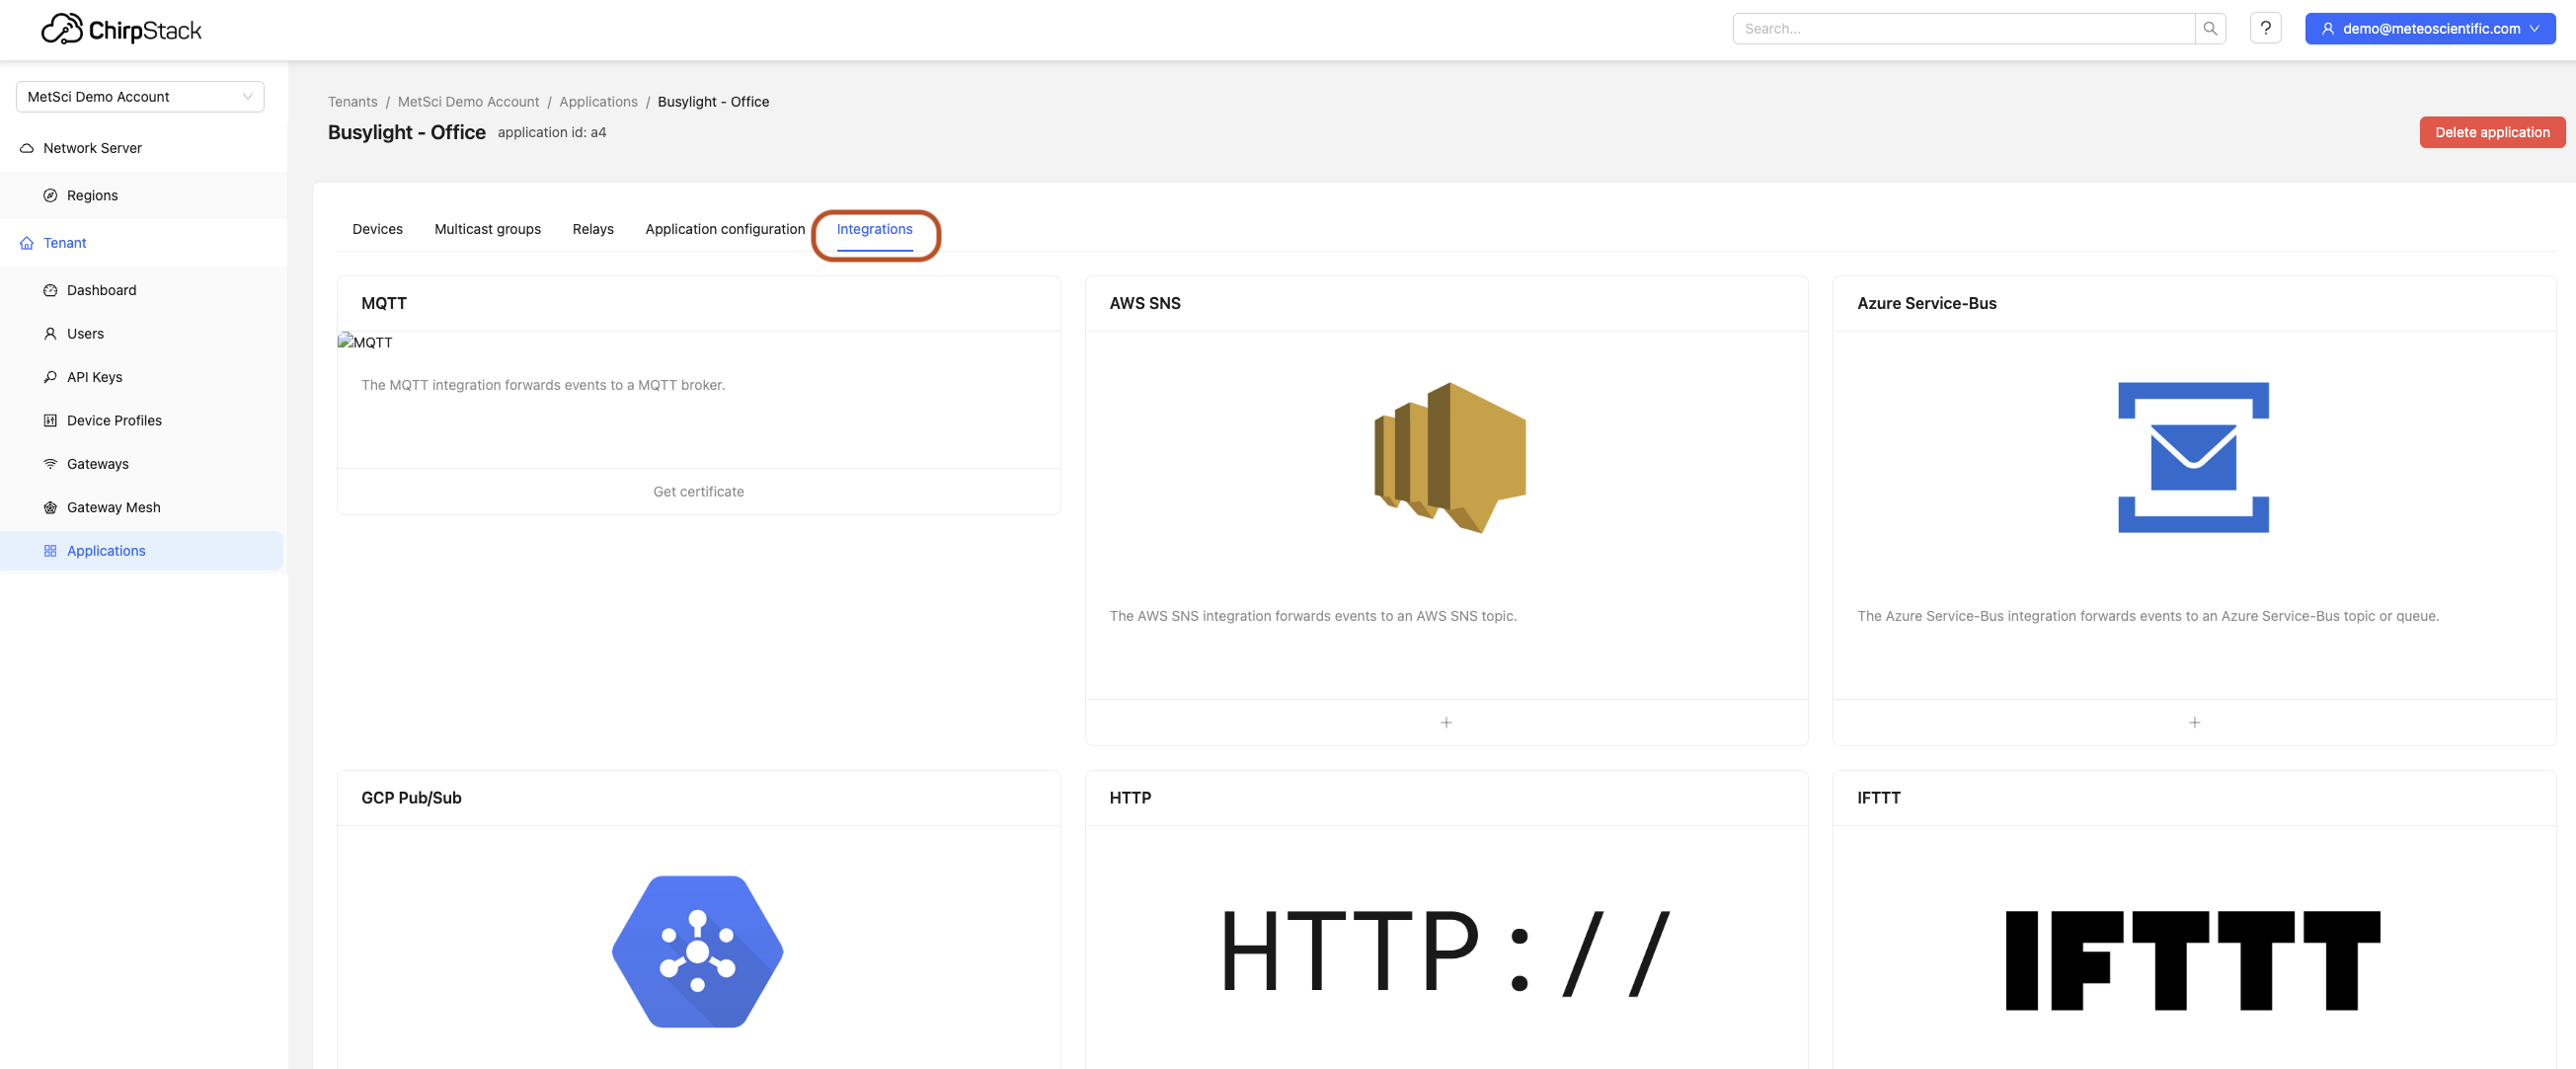
Because Integrations are so intregral (couldn't resist) to what we do, they have their own Tutorial. For now, just know that the way you get to an Integration is via your Application.
That's it for now, head over to the Console and try creating an Application for yourself.
Rock 'n roll!
